🏠Home/📖Guides/🎣Fishing/Stardew Valley Fishing Guide - Fish List, Mechanics & Tips
Stardew Valley Fishing Guide - Fish List, Mechanics & Tips
Complete Stardew Valley fishing guide with all fish by season, fishing mechanics, legendary fish locations, crab pots, bait & tackle, and fishing level rewards.
🎣Fishing📅All Seasons🟡Intermediate📅
Published: Feb 20, 2024
# fishing # fish # legendary # crab-pot # poles # tackle
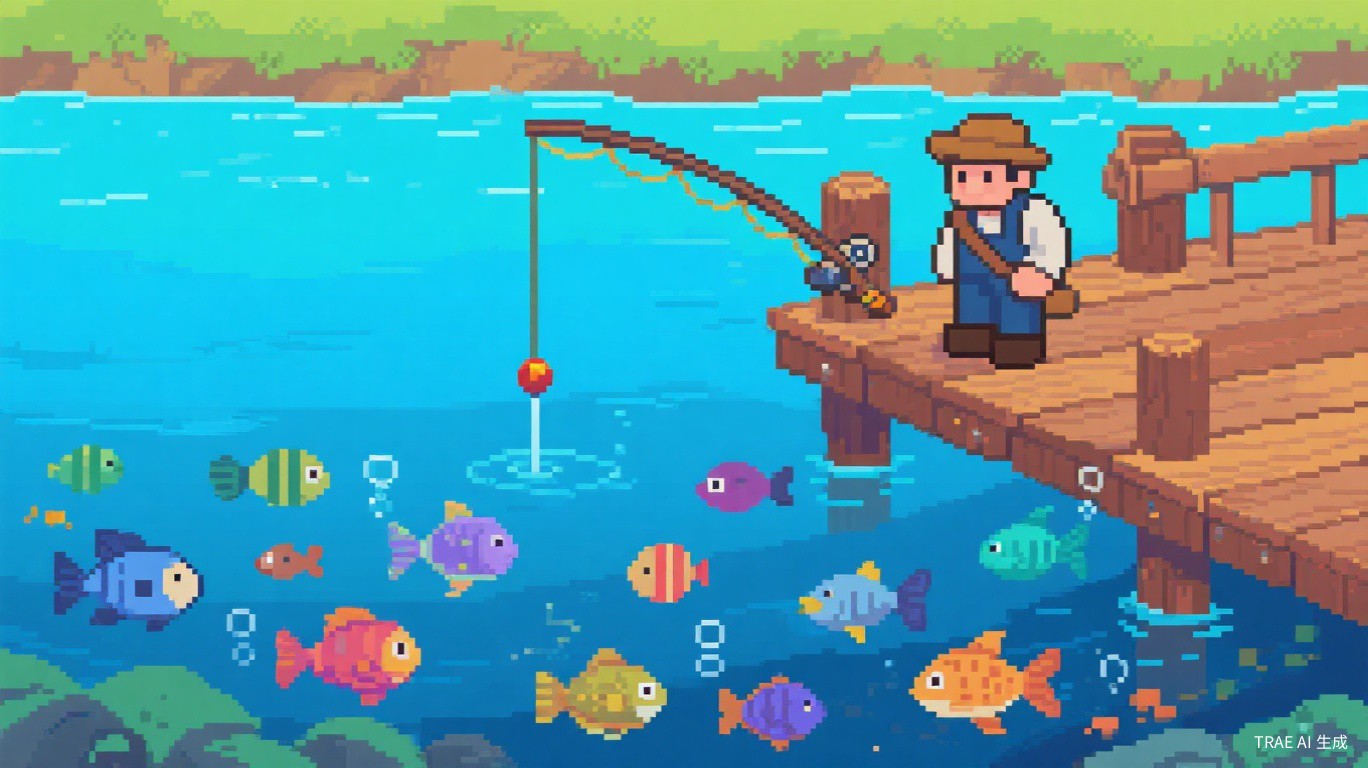
Complete Fishing Guide
TL;DR
Fishing is one of the five main skills in Stardew Valley, offering both relaxing gameplay and significant income potential. The Iridium Rod (7,500g, Fishing Level 6) is the best fishing tool, supporting both bait and tackle attachments. Wild Bait provides the highest efficiency with a chance to catch two fish at once. The five legendary fish (Legend, Crimsonfish, Angler, Glacierfish, Mutant Carp) can each be caught only once per save file, with difficulty ratings from 80-110. The Fisher -> Angler profession path maximizes profit with 75% total bonus to fish sell prices.
Fishing is one of the five main skills in Stardew Valley. It can be a relaxing way to earn income or a challenging pursuit of rare species. This guide covers everything from basic mechanics to legendary fish strategies, including all rods, bait, tackle, seasonal fish locations, and the complete fishing skill progression.
How Does the Fishing Mini-Game Work?
When you cast your line into water, a fish will bite (indicated by an exclamation mark and sound). Click to start the fishing minigame. A green bar appears alongside a vertical meter:
Click/hold to raise the green bar.
Release to let the green bar fall.
Keep the fish icon inside the green bar to fill the catch meter.
If the catch meter fills completely, you catch the fish.
If it empties completely, the fish escapes.
The difficulty of the minigame depends on the fish species. Some fish barely move, while others dart erratically. Higher fishing skill makes the green bar larger, making catches easier. The green bar also bounces off the top and bottom of the meter, which can be used strategically.
What is the Best Fishing Mini-Game Strategy?
Keep the bar steady. Rather than clicking frantically, try to maintain the bar at a consistent height where the fish tends to swim.
Use the bounce. Let the bar bounce off the bottom or top to maintain position without constant clicking.
Anticipate fish movement. Fish that dart upward will often reverse direction. Be ready to release when they change direction.
Practice makes perfect. The fishing mini-game is the hardest skill in Stardew Valley. Do not get discouraged by early failures.
Use food buffs. Eating Dish o’ The Sea (+1 Fishing) or Seafoam Pudding (+4 Fishing) makes the green bar larger.
What Fishing Rods Are Available?
There are four fishing rods in the game, each unlocked at different milestones:
Rod
How to Unlock
Bait
Tackle
Notes
Bamboo Pole
Given by Willy on Spring 2 (visit beach)
No
No
Basic rod, no attachments
Training Rod
Buy from Willy for 75g
No
No
Easier fishing, limited to basic fish
Fiberglass Rod
Buy from Willy for 1,800g (Fishing Level 2)
Yes
No
First rod with bait slot
Iridium Rod
Buy from Willy for 7,500g (Fishing Level 6)
Yes
1 slot
Best standard rod
Advanced Iridium Rod
Buy from Willy for 25,000g (Fishing Level 10)
Yes
2 slots
Ultimate rod (added in 1.6.9)
What Bait Types Are Available?
Bait can be attached to the Fiberglass Rod and Iridium Rod to reduce the time between bites. Bait is consumed each time a fish is caught.
Bait
Effect
Source
Cost
Bait
Reduces time between bites
Craft: 10 Bug Meat
Free (with bugs)
Magnet
Increases treasure chance
Chests in mines, Skull Cavern
Found only
Wild Bait
Fish bite faster AND double catch chance
Complete Qi’s quest
5 Qi Gems per 5
What is Wild Bait and Why is it the Best?
Wild Bait is the best bait in the game. It combines the bite rate reduction of normal bait with a special effect: each cast has a chance of catching two fish at once. This effectively doubles your fishing output. However, it is only available after completing a challenging quest from Mr. Qi.
What Tackle Types Are Available?
Tackle is attached to the Iridium Rod’s tackle slot and provides various bonuses. Each tackle has a limited durability and will break after a certain number of uses.
Tackle
Effect
Fishing Level
Durability
Cost
Cork Bobber
Slightly increases green bar size
Level 5
No break
500g
Barbed Hook
Fish don’t escape while bar is raised
Level 8
Breaks after uses
1,000g
Trap Bobber
Fish escape slower when bar not touching
Level 6
Breaks after uses
500g
Spinner
Slightly increases bite rate
Level 6
No break
500g
Curiosity Lure
Doubles rare fish chance
Level 8
No break
2,000g
Treasure Hunter
Greatly increases treasure chance
Level 8 (Willy quest)
No break
750g
Sonar
Shows fish name before catching
Level 6
No break
1,000g
Dress Spinner
Increases bite rate in rain
Level 6
No break
750g
What is the Best Tackle for Each Situation?
Situation
Recommended Tackle
Reason
General fishing
Cork Bobber or Trap Bobber
Larger bar or slower escape
Legendary fish
Trap Bobber
Fish escape slower, critical for hard fish
Treasure farming
Treasure Hunter
Maximizes chest finds
Rare fish collection
Curiosity Lure
Doubles chance of rare species
Rain fishing
Dress Spinner
Faster bites during rain
Complete Fish List by Season
What Fish Can Be Caught in Spring?
Fish
Location
Time
Weather
Difficulty
Sell Price
Catfish
River
6AM-12AM
Rainy
35
200g
Eel
Ocean
4PM-2AM
Rainy
55
85g
Flounder
Ocean
6AM-8AM
Any
40
100g
Herring
Ocean
All day
Any
20
30g
Largemouth Bass
Mountain Lake
6AM-7PM
Any
30
100g
Shad
River
9AM-2PM
Rainy
30
60g
Tiger Trout
River
6AM-7PM
Any
30
75g
Walleye
River
12PM-2AM
Any
35
105g
Sardine
Ocean
6AM-7PM
Any
20
40g
Tuna
Ocean
6AM-7PM
Any
50
100g
Red Snapper
Ocean
6AM-7PM
Rainy
35
50g
What Fish Can Be Caught in Summer?
Fish
Location
Time
Weather
Difficulty
Sell Price
Octopus
Ocean
6AM-1PM
Any
70
150g
Pufferfish
Ocean
12PM-4PM
Sunny
65
200g
Red Snapper
Ocean
6AM-7PM
Rainy
35
50g
Tilapia
Ocean
6AM-2PM
Any
30
75g
Tuna
Ocean
6AM-7PM
Any
50
100g
Albacore
Ocean
6AM-11AM
Rainy
45
75g
Super Cucumber
Ocean
6PM-2AM
Any
60
250g
Midnight Carp
Mountain Lake
10PM-2AM
Any
10
45g
Dorado
Forest Pond
6AM-2PM
Any
65
300g
What Fish Can Be Caught in Fall?
Fish
Location
Time
Weather
Difficulty
Sell Price
Salmon
River
6AM-6PM
Any
40
75g
Walleye
River
12PM-2AM
Any
35
105g
Tiger Trout
River
6AM-7PM
Any
30
75g
Albacore
Ocean
6AM-11AM
Rainy
45
75g
Sardine
Ocean
6AM-7PM
Any
20
40g
Tuna
Ocean
6AM-7PM
Any
50
100g
Red Snapper
Ocean
6AM-7PM
Rainy
35
50g
Lingcod
River
6AM-6PM
Any
65
120g
Shad
River
9AM-2PM
Rainy
30
60g
What Fish Can Be Caught in Winter?
Fish
Location
Time
Weather
Difficulty
Sell Price
Squid
Ocean
6PM-2AM
Any
50
80g
Perch
River
6AM-6PM
Any
15
55g
Lingcod
River
6AM-6PM
Any
65
120g
Midnight Carp
Mountain Lake, River
10PM-2AM
Any
10
45g
Walleye
River
12AM-2AM
Any
35
105g
Sea Cucumber
Ocean
6AM-6PM
Any
5
75g
Flounder
Ocean
6AM-8AM
Any
40
100g
Blobfish
Ocean
6AM-6PM
Rainy
70
150g
Midnight Squid
Ocean
12AM-2AM
Any
50
110g
Spook Fish
Sewers
All day
Any
55
800g
Stonefish
Mines (level 20)
Any
Any
50
75g
Ice Pip
Mines (level 40)
Any
Any
40
75g
Lava Eel
Mines (level 80-100)
Any
Any
85
700g
How to Catch Legendary Fish?
There are five legendary fish, each available only during a specific season and under specific conditions. Each legendary fish can only be caught once per save file.
How to Catch the Legend (Spring)?
Stat
Value
Season
Spring
Location
Mountain Lake
Time
6AM-12AM
Weather
Rainy day
Minimum Date
Spring 5
Difficulty
110 (extremely hard)
Sell Price
1,650g
Strategy: Wait for a rainy spring day after the 5th. Use the Iridium Rod with Trap Bobber. Cast into the lake and be patient. The Legend has an extremely erratic movement pattern. Eat food that boosts fishing skill (Dish o’ The Sea) before attempting.
How to Catch the Crimsonfish (Summer)?
Stat
Value
Season
Summer
Location
Ocean (east pier)
Time
6AM-6PM
Weather
Any
Minimum Date
Summer 5
Difficulty
95
Sell Price
1,500g
Strategy: Fish from the east pier of the beach. The Crimsonfish is slightly easier than the Legend but still very challenging. Use Trap Bobber and fishing food buffs.
How to Catch the Angler (Fall)?
Stat
Value
Season
Fall
Location
River (north of Joja Mart)
Time
6AM-6PM
Weather
Any
Minimum Date
Fall 5
Difficulty
85
Sell Price
1,500g
Strategy: Cast your line into the river north of Joja Mart. The Angler is the easiest of the legendary fish, though still very challenging. Use Trap Bobber.
How to Catch the Glacierfish (Winter)?
Stat
Value
Season
Winter
Location
Forest Pond (south of farm)
Time
6AM-6PM
Weather
Any
Minimum Date
Winter 5
Difficulty
90
Sell Price
1,500g
Strategy: Fish in the small pond south of your farm in Cindersap Forest. The Glacierfish has a large size but moves unpredictably. Trap Bobber is recommended.
How to Catch the Mutant Carp (Any Season)?
Stat
Value
Season
Any
Location
Sewers
Time
Any
Requirement
Donate 60 items to Museum (10,000g total)
Difficulty
80
Sell Price
1,500g
Strategy: The Mutant Carp is the only legendary fish available year-round, but you must first unlock the sewers by donating 60 artifacts/minerals to Gunther at the Museum. It is the easiest legendary fish to catch.
How to Use Crab Pots Effectively?
Crab pots are a passive fishing method. Place them in water and check them daily to collect shellfish and other items.
Crab Pot Details
Stat
Value
Crafting Recipe
40 Wood, 3 Iron Bars (Fishing Level 3)
Bait Required
Yes (unless Luremaster profession)
Daily Production
1 item per pot per day
Placement
Any body of water
Max Pots
Limited by fishing level (without Mariner)
Crab Pot Catches
Item
Sell Price
Location
Crab
75g
Any water
Lobster
120g
Ocean only
Shrimp
60g
Any water
Crayfish
75g
Freshwater only
Cockle
50g
Ocean only
Mussel
30g
Ocean only
Oyster
50g
Ocean only
Clam
50g
Ocean only
Snail
65g
Any water
Periwinkle
20g
Any water
Trash
0g
Any (reduced with Mariner)
What is the Best Crab Pot Strategy?
Place ocean crab pots for Lobster (highest sell price at 120g)
With the Mariner profession (Level 10, Trapper branch), crab pots never produce trash
With the Luremaster profession (Level 10, Trapper branch), crab pots do not require bait
Best combination: Mariner (no trash) + bait from bug meat
What Are the Best Fishing Skill Professions?
Level 5 Choice
Profession
Effect
Fisher
Fish sell for 25% more
Trapper
Crab pots require no bait
Level 10 Choice (Fisher Branch)
Profession
Effect
Angler
Fish sell for 50% more (total +75% with Fisher)
Pirate
Chance to find double treasure
Level 10 Choice (Trapper Branch)
Profession
Effect
Mariner
Crab pots never produce trash
Luremaster
Crab pots do not require bait
What is the Recommended Fishing Profession Path?
For most players, Fisher -> Angler is the best path. The 50% bonus from Angler (stacking with Fisher’s 25% for 75% total) significantly increases fishing income. The Trapper branch is only recommended for players who want a fully passive crab pot setup.
Fishing XP Table
Level
XP Required
Reward
1
0
Bamboo Pole
2
100
Fiberglass Rod available
3
300
Crab Pot recipe
4
600
Barbed Hook recipe
5
1,000
Choose Fisher or Trapper
6
2,000
Iridium Rod available
7
3,000
Spinners recipe
8
5,000
Trap Bobber recipe
9
8,000
Curiosity Lure recipe
10
12,000
Choose Angler/Pirate or Mariner/Luremaster
XP Sources
Action
XP Gained
Catch a fish
3 + (difficulty x 3) XP
Catch a legendary fish
5 x difficulty XP
Perfect catch (bar never drops)
2.2x XP multiplier
Crab pot item
5 XP per item
Trash
3 XP
Data Sources: All game data in this guide is based on the official Stardew Valley Wiki and verified against game version 1.6.
We use cookies and similar technologies to enhance your browsing experience and serve personalized advertisements through Google AdSense. By clicking "Accept", you consent to our use of cookies.
Learn more in our Privacy Policy.